

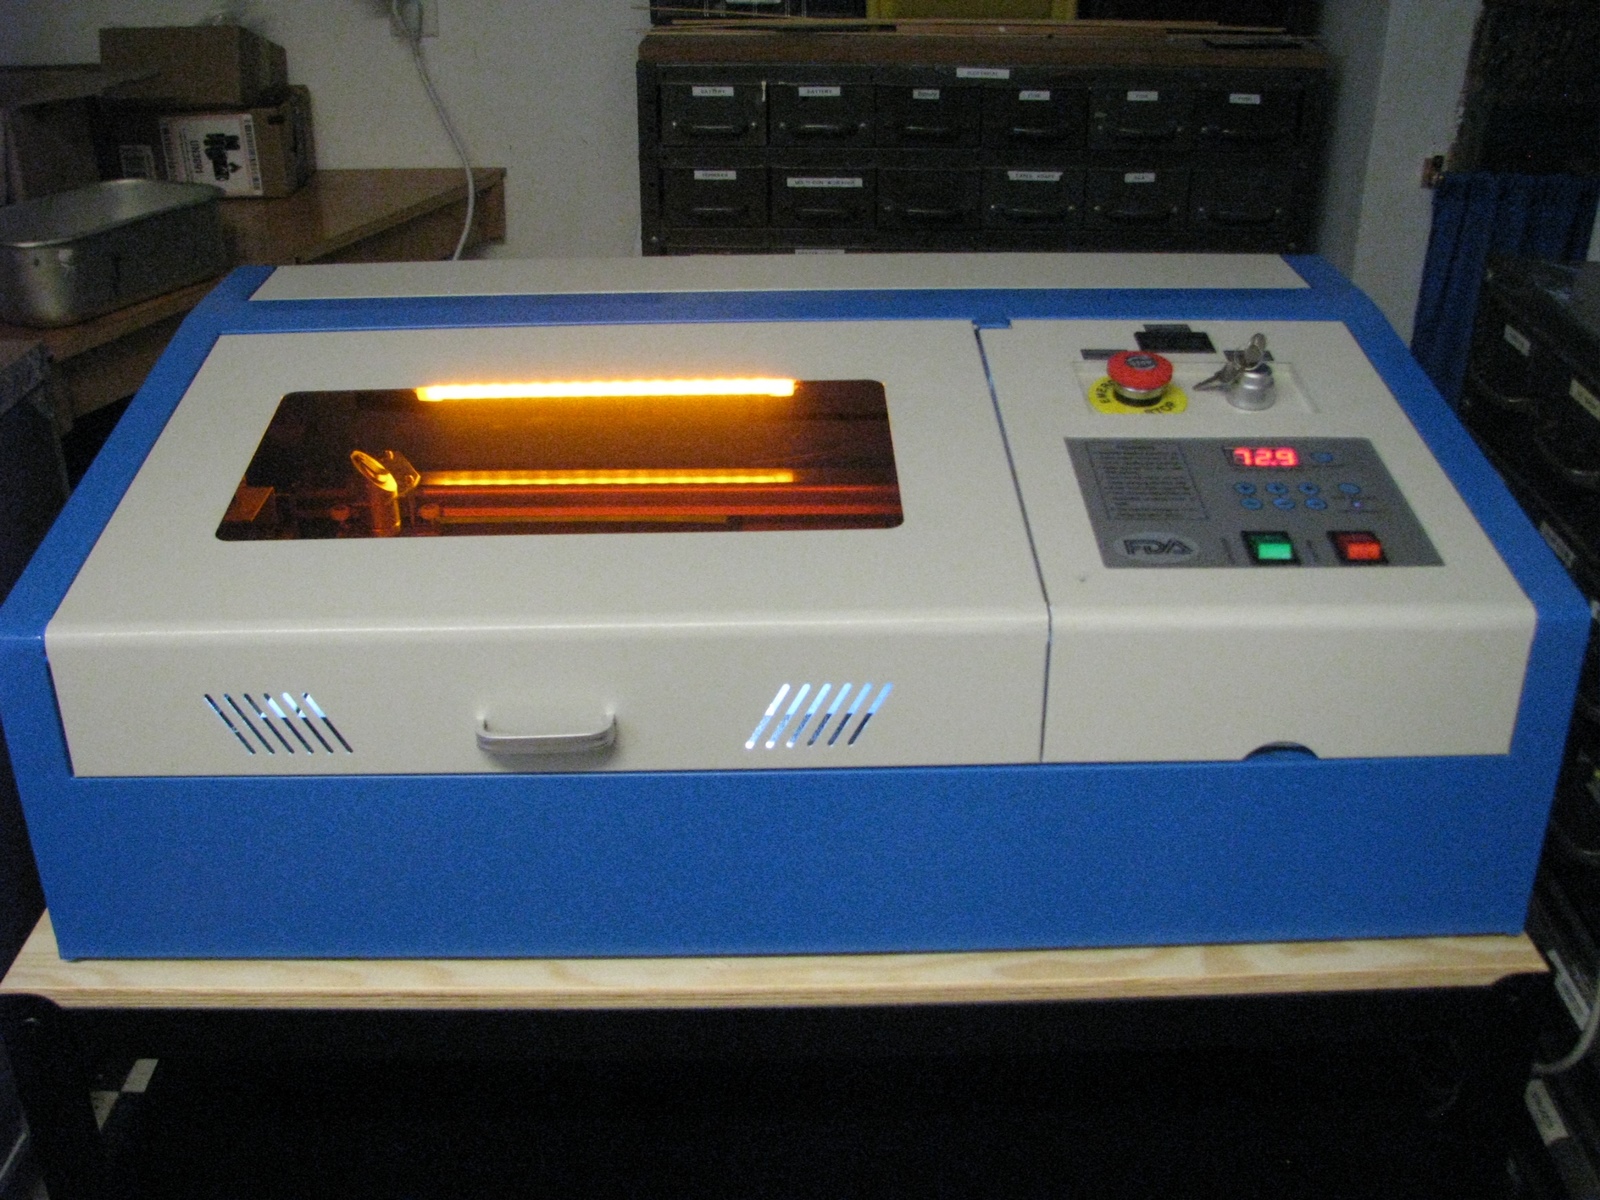
This is the "classic" inexpensive Laser Engraver Cutter from China. Similar lasers that do the same thing (but better and more repeatable) cost $3000 and up. This one cost $600 CAD. It is known affectionatly(?) as the K40, 40 being the power of the CO2 laser, 40 watts. There is a great following on the Internet for this tool.
Here are some "as delivered" photos. Hover over a photo for description


")


.JPG "Fish tank aerator supplies air to the nozzle to keep work clear")
Modifications
I am a hacker. Now that I have everything working, I changed a bunch of stuff, to make the $600 engraver into a $1500 engraver.
Thursday, March 10, 2022
ModificationsI am a hacker. Now that I have everything working, I changed a bunch of stuff, to make the $600 engraver into a $1500 engraver.
Send Comments

Copyright 2022 Queenidog - All Rights Reserved
Selecet
Go to:
As built (as delivered)
Alignment
Sunday, April 24, 2022
The first order of business was to align the mirrors. There are two stationary and one moving mirror to get the laser beam to where it can do some work. The beam must be sharp, precise, and perfect at all corners of the work area. (Hover over photo for description). Very frustrating procedure. Every once in awhile when the laser seems to be faltering at the far right side (most out of focus), I check and must realign mirror 2.
Software
Sunday, April 24, 2022
Coreldraw and a program called LaserDraw comes with the tool, but before I even started, I read on numerous web pages and YouTube to throw these out and use the free drawing program called Inkscape and laser control software called K40 Whisperer. The latter is a very simple program that all users should start with, then upgrade after they know how everything works. I used the Whisperer many times, then upgraded to Lightburn software used with the Cohesion 3D control board. More features and better control, plus only one program needed, not two.
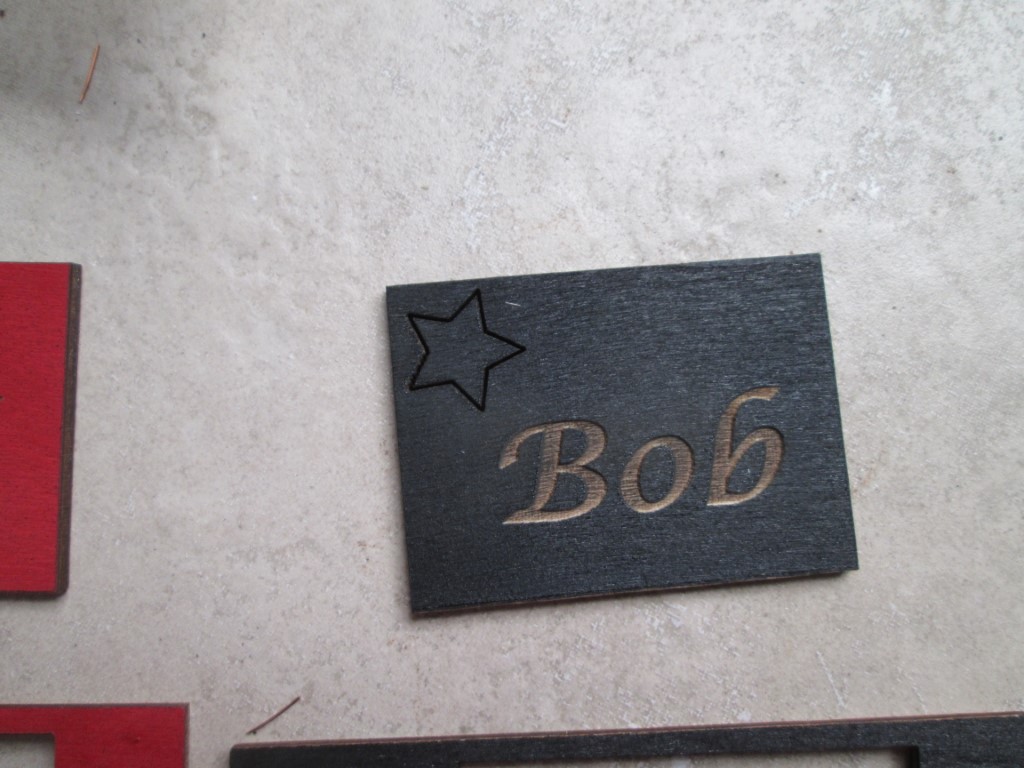
Work Samples
Sunday, April 24, 2022
Below are a number of items I made with the freeware. In each case I was testing the laser on a particular product: leather, wood, painted metal, leather, etc. and making notes on: 1) material, 2)Raster engrave/Vector Engrave/ Vector cut, 3) power used, 4) number of passes, and finally, 5) Result description. At the end of my spreadsheet I put a checkmark or an X, to indicate Go or No-Go.
Future Enhancements
Sunday, April 24, 2022
Lorem ipsum dolor sit amet, consectetur adipisicing elit, sed do eiusmod tempor incididunt ut labore et dolore magna aliqua.


")
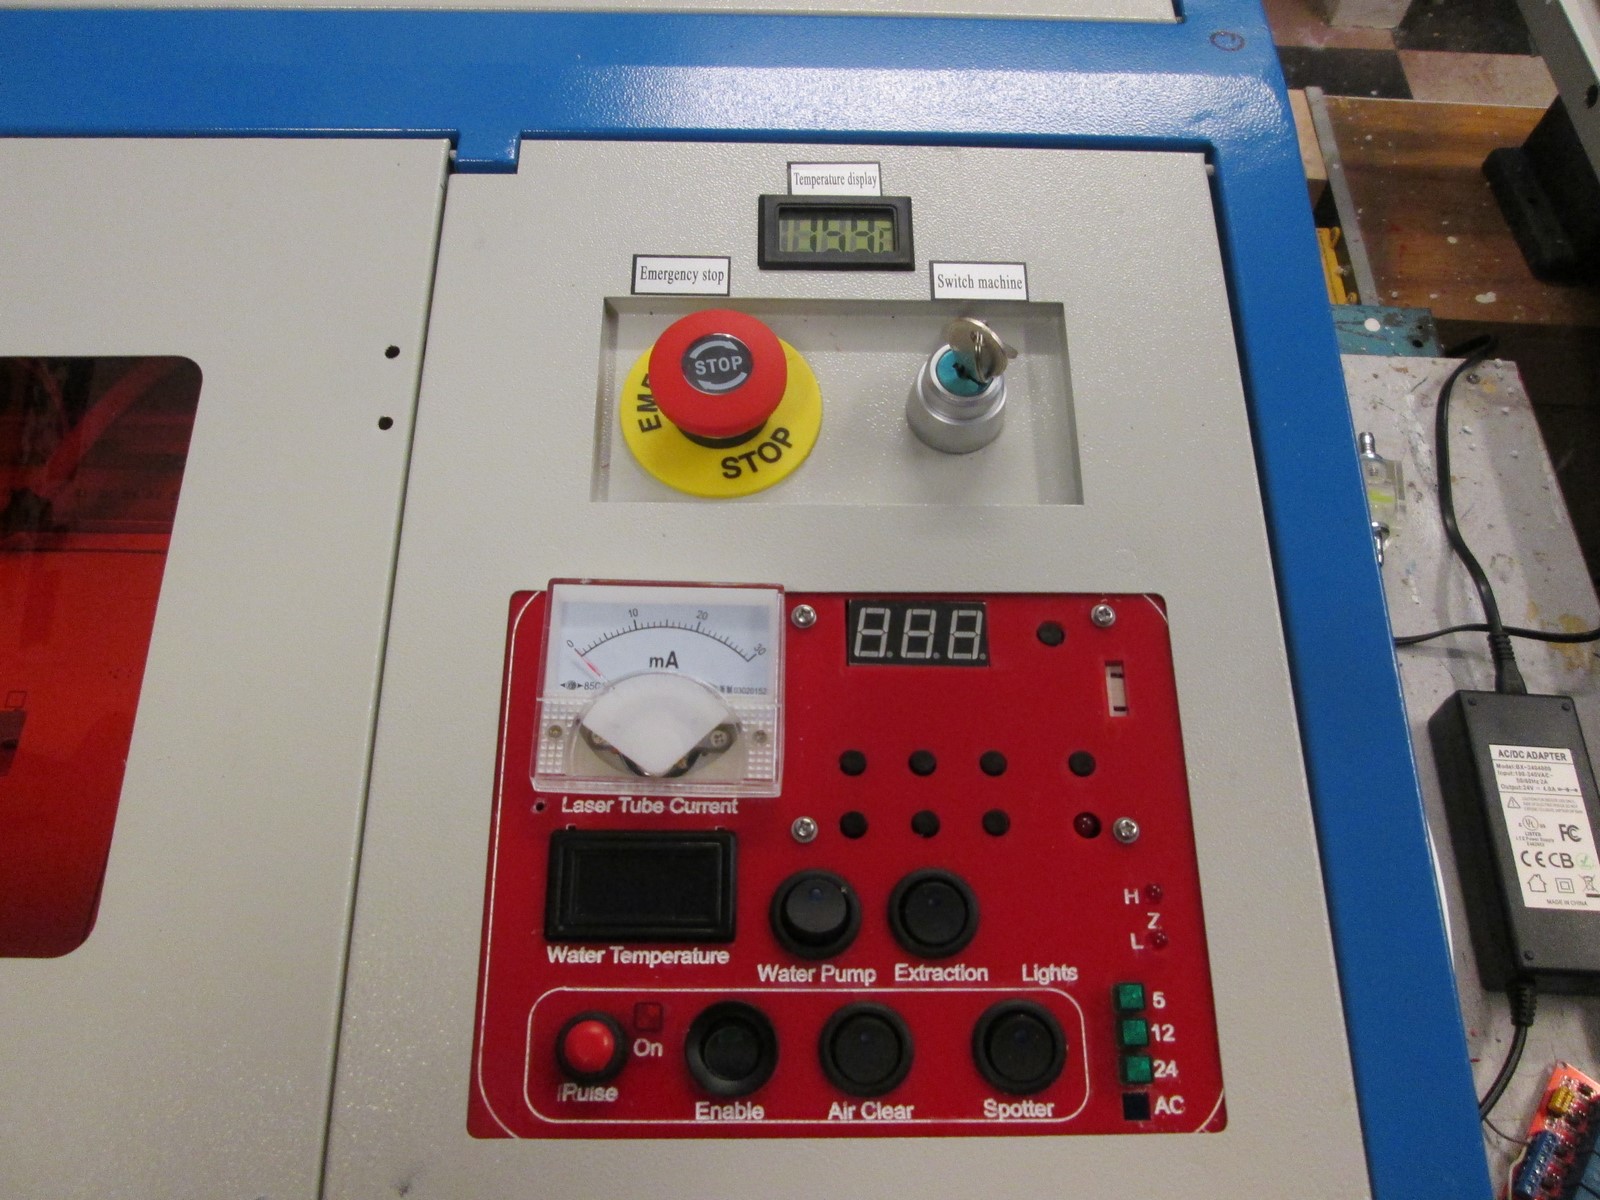


Control Panel
I made my panel out of 1/8" acrylic and used switches and relays to control equipment. I KEPT the digital panel (upper right in photos below), unlike most who ditch it in favour of a potentiometer to control the laser current. I set the digital meter to 50%, then control the beam intensity from the program, anywhere from 10% to 100%
Hover over a photo for description, photos are in order left to right.
Sunday, April 24, 2022
It seems that most who buy a K40 have the need to modify the control panel. The original is kind of lame with no individual control over the auxiliary equipment, like air purge, extraction fan, water pump. All these would start when the key switch was turned on.I made my panel out of 1/8" acrylic and used switches and relays to control equipment. I KEPT the digital panel (upper right in photos below), unlike most who ditch it in favour of a potentiometer to control the laser current. I set the digital meter to 50%, then control the beam intensity from the program, anywhere from 10% to 100%
Hover over a photo for description, photos are in order left to right.
Copyright 2022 Queenidog - All Rights Reserved